|
Pre-game
Pre-game setup in this paragraph,
move on down if you don't care. This game was played on August 11,
2003. This game was played on the hotseat option, because I am cheap
and haven't subscribed yet. My opponent has no SN so we'll
just call 'em Anonymous.
1v1 on
Crossroads
This game was between
Who'sGotLag.IDO
(Marines) and Anonymous
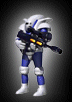
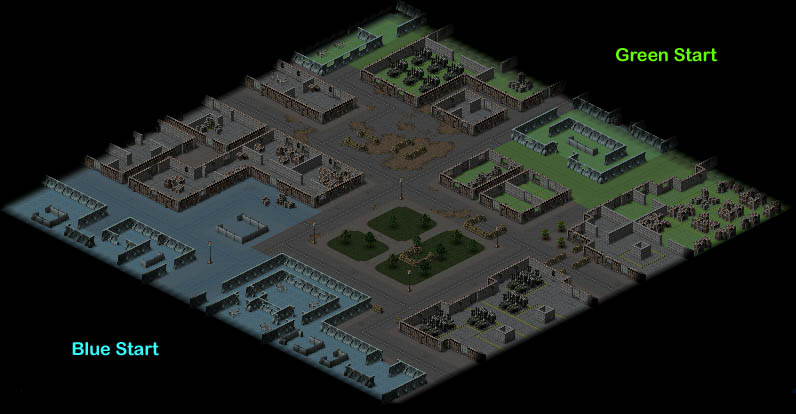
(Machina) on Crossroads. Who'sGotLag.IDO
started at the lower-left edge and Anonymous
started at the top-right edge. The two starts are far apart but the
smallness of the map guarantees immediate combat (unless one or both sides
turbo turtles).
Who'sGotLag.IDO's
placed his troops as shown below. Mouseover the
picture for the gameplan visual aid. Who'sGotLag.IDO's
gameplan was to hold his flanks with Grunts who
would hide in their buildings and shoot any unit entering their respective
fire zones. Snipers would cover both middle courtyards making any
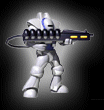
passage through them extremely dangerous. A Grenadier would blow down
building fronts allowing the Snipers and Commander to take down exposed enemy
units. The Headquarters was placed well forward to allow rapid
replenishment of
the Grenadier's limited ammunition supply. Eventually the left-side Grunts, Grenadier, Medic, and Commander
would advance under Sniper coverage. This plan was reflected by the
orders given to allow the units to move into position and control fire
zones.

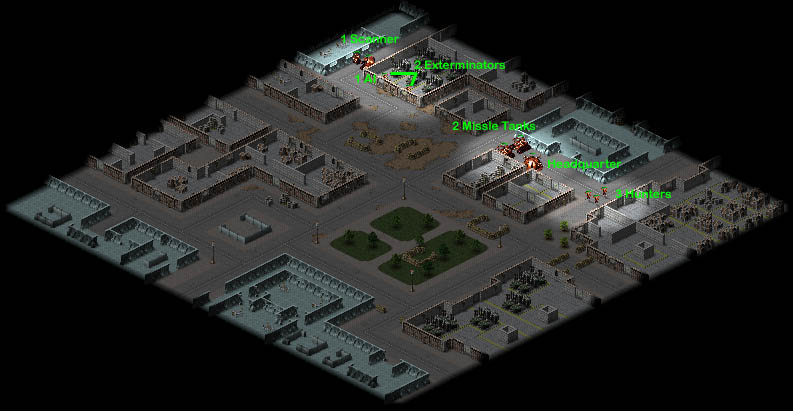
Anonymous's
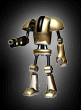
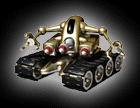
gameplan was to overload the left-side of the map with Missile Tank
firepower, leveling the buildings for Exterminators and an AI to cleanup.
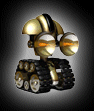
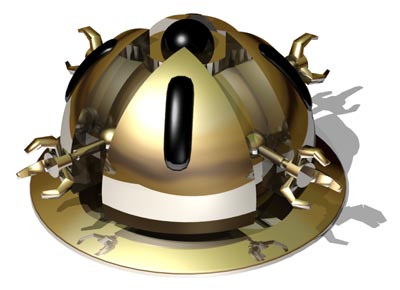
The AI is a short-range unit so a Scanner was placed first to find hiding enemy
units and allow the AI to get in close and mow them down. The
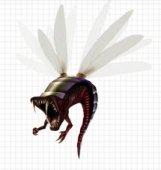
right-side of the map was guarded by the measly protection of 3 Hunters
whose main purpose was simply to observe and allow Missile Tanks to apply
explosive treatment to spotted enemy units.
Turn
1: We'll ignore the deployment phase and move on to the first turn
where movement occurs. The first set of orders was applied with units moving towards their
assigned positions (according to the gameplans). A Hunter coming down the right-side street was
shot down by the right-side Sniper, but no other losses occurred.
The Anonymous's
Missile Tanks opened fire but their rounds hit empty
sandbag emplacements doing no harm to the enemy.  Turn
2: The Sniper assigned to cover the top courtyard smiled grimly when
he reached his assigned spot. He reached his post just in time to watch a missile from Anonymous's
tank slam into the window he was looking out of. Needless to say, he died with a
bang. Also not according to Who'sGotLag.IDO's
gameplan was a Grunt being picked off by a Hunter while
securing the right side building between the two sides. Turn
2: The Sniper assigned to cover the top courtyard smiled grimly when
he reached his assigned spot. He reached his post just in time to watch a missile from Anonymous's
tank slam into the window he was looking out of. Needless to say, he died with a
bang. Also not according to Who'sGotLag.IDO's
gameplan was a Grunt being picked off by a Hunter while
securing the right side building between the two sides.
Turn
3: Anonymous
sent a second Hunter scouting for the Sniper that killed his teammate,
quickly moved into a sandbag emplacement on the right-side. It encountered a Grenade
launched the previous turn (clearing sandbag emplacements to prevent just
such an occurance) and Sniper
fire, dying. A third Hunter, who previously killed a Grunt, soon followed its peers in destruction
as the remaining Grunt and Medic in the far-right building sprayed him with fire.
Anonymous
reported (after the game) that his Scanner located in the left building spotted Who'sGotLag.IDO's
Grunts and Headquarters convincing him to
concentrate his Missile Tank fire on the building obstructing fire on it.
Anonymous
also sent his AI forward to take advantage of the
incoming missiles which would soon knock down the walls preventing him
from closing range (The yellow line in the picture below indicates he can
shoot through that window). 
Turn
4: The Missile Tanks (remember 2 tanks each capable of firing 2
missiles per turn) began smashing walls and crates down while Snipers
slowly whittled down their armor from long-range. Anonymous's
AI moved in closer, trading hits with Who'sGotLag.IDO's
Commander who had moved to target the AI. (In other words nothing really
exceptional happened) Who'sGotLag.IDO's
Grenadier did reload his depleted ammo supply (Ooh,
exciting!) Turn 5: Who'sGotLag.IDO's
wounded Commander pulled out of the battle with the
AI and met up with a Medic in a passageway behind... just seconds before a missile blew away
the wall shielding them and another one hit them directly. Anonymous
was still clearing a firing path to the HQ and the Commander + Medic were
simply collateral damage. Who'sGotLag.IDO
had sent his left-side Grunts to engage the AI while the Commander
escaped, getting in some free hits (Grunts barely scratch AIs) when the AI
went in the opposite direction to enter the building. Seeing an
opportunity, the Grenadier sprinted into the middle of the map
towards the buildings hiding the Missile Tanks and used them as shelter. 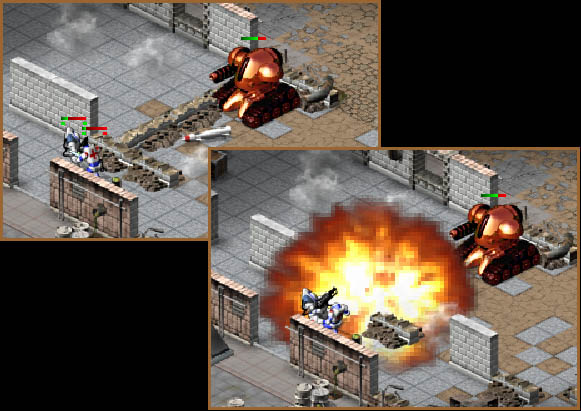
Turn
6: Anonymous's
building clearing tactic backfired on him as the missing walls enabled the
3 surviving Snipers to tear through the AI's remaining armor, destroying it. Who'sGotLag.IDO's
Grenadier (mentioned previously) lined himself up
with the gap between the 2 buildings in front of Anonymous's
Headquarters and began bouncing grenades down the gap. The grenades
individually don't do much damage to the HQ, but they excited Anonymous
enough to
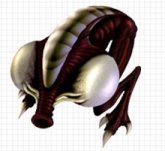
pull an Exterminator to try and eradicate the threat and to cover the now
exposed right side. The Missile Tanks were likely reloading
their ammo after the heavy missile barrage earlier. 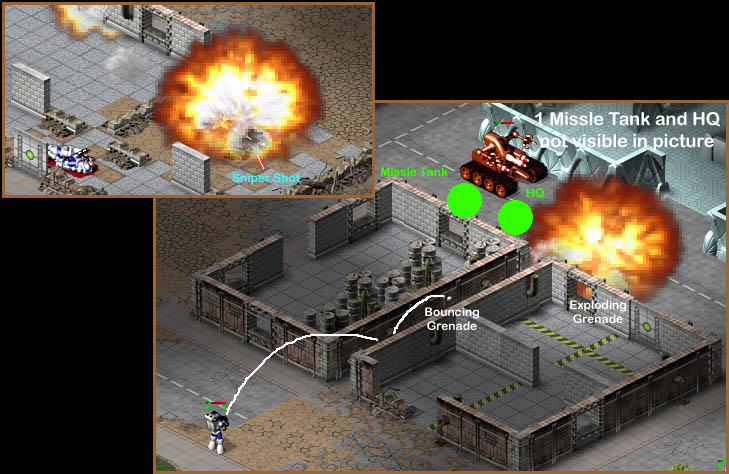
Turn
7: Anonymous's
Missile Tanks had finally cut through the building sheltering Who'sGotLag.IDO's
Headquarters and it went up in a large ball of flames
taking one of the three remaining Snipers with it. Who'sGotLag.IDO
had ordered his Grenadier to unload all his
remaining grenades on Anonymous's
HQ in a reciprocal attack, with one unfortunate grenade hitting the wall
and bouncing back. The Grenadier has enough time to escape the grenade (with some damage), but since he used the last of his ammo and the
HQ blew up, is only usable as a target or an extra set of eyes. 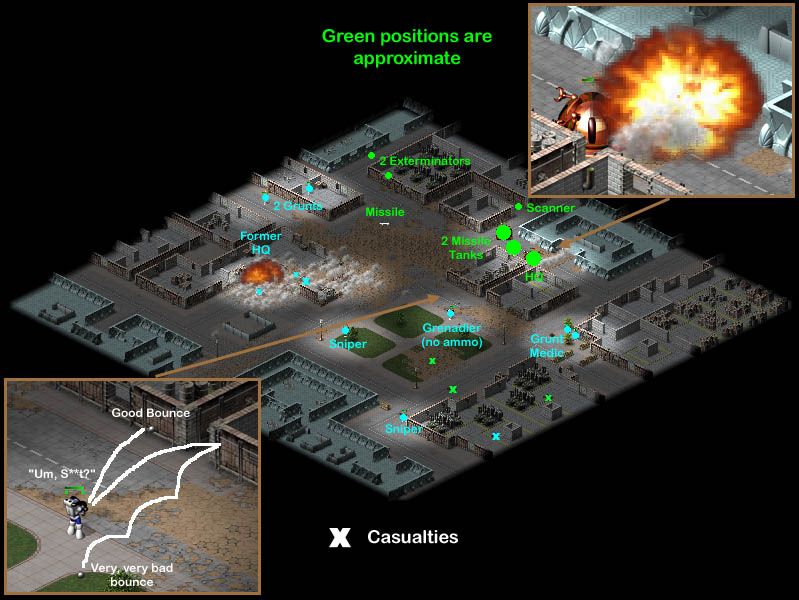
Turn
7: As you can see from the previous picture, the Grunt just above the
former blue HQ is about to have a close (lethal) encounter with an
incoming missile. The second Grunt was killed as it emerged from the
building in front of two Exterminators. Two more missiles were fired
blindly at objects in the southern courtyard that could shelter a Sniper,
with the first being close enough to kill the last left side Sniper hiding
behind a tree. The Sniper did manage to kill an Exterminator before
he died (missile launching is slow). Anonymous
has 12 points worth of troops alive, but his Missile Tanks are heavily
damaged and 1/4 of his "troops" have no offensive ability.
Who'sGotLag.IDO
has only 6 points worth of troops alive (1/3 of the
points
are in the unarmed Grenadier), but his Sniper has superior vision and can
shoot from out of sight, while the remaining Grunt/Medic have the green HQ
between them and Anonymous's
defenders. Turn 8: The
Who'sGotLag.IDO's
Grunt/Medic on the right-side of Anonymous's
HQ puts the finishing shots into it, blowing it up and a resupplying
Missile Tank in the resulting explosion. The second Missile Tank however put a missile into a
nearby wall ending the lives of both the Grunt and the Medic. 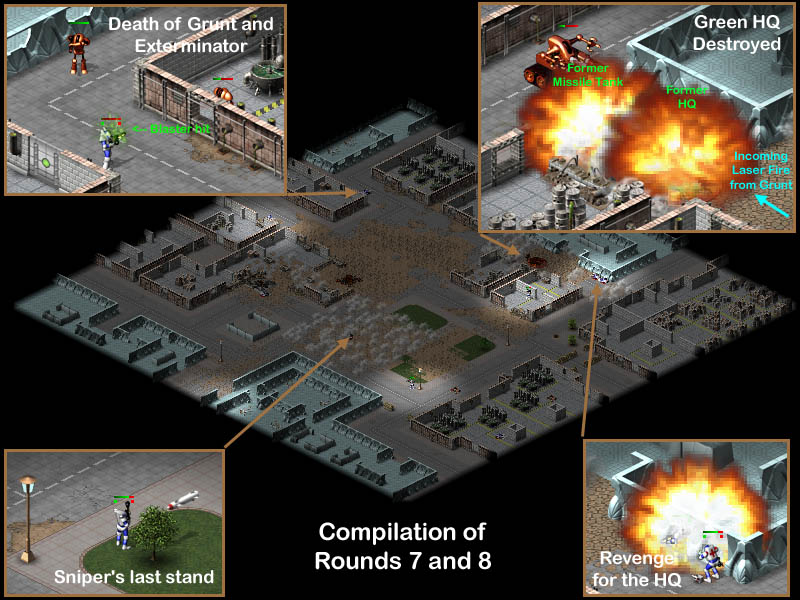
Turn
9: Anonymous
was left with 7 points worth of troops, but the poor sight range and
heavily damaged troops, were major factors against him. Providing
vision for Who'sGotLag.IDO
was his cute little unarmed Grenadier, who had
sighted the remaining Machina units and allowed the Sniper to reposition
to give him a good angle on both. The Missile Tank died first to a precise
shot from half a map away, never seeing his killer. Anonymous's
last combat unit, the Exterminator died in a blaze of glory (his chest was
on fire). This was most likely he was a distraction to hopefully allow one of the two units to
sight the Sniper and kill it. With Anonymous
having only the Scanner remaining (was watching the right side watching
for more troops and couldn't get back in time, plus the range was too far
for its sensor to see the Sniper), which has no combat abilities, the game
ended. 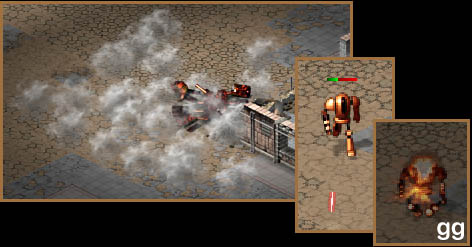
|
 Home
Forum
Starcraft Tournaments
Home
Forum
Starcraft Tournaments